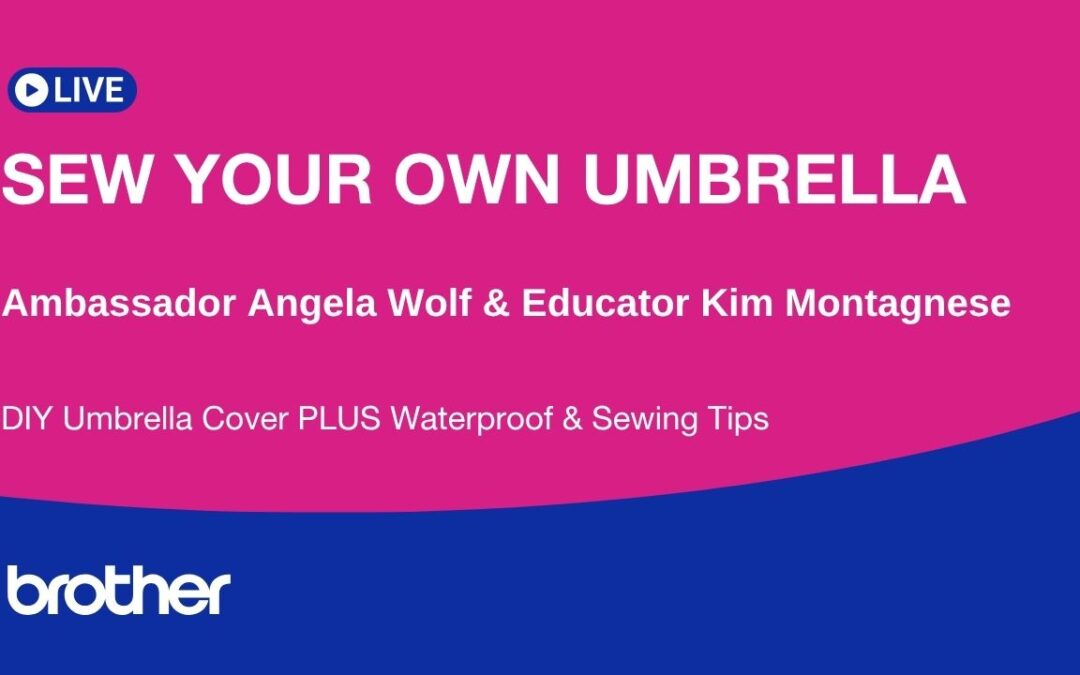
EP 580 How to Sew an Umbrella Cover | Upcycle Tutorial & Waterproof Tips
🌧️ How to Sew an Umbrella Cover (Upcycle Tutorial + Waterproof Tips)
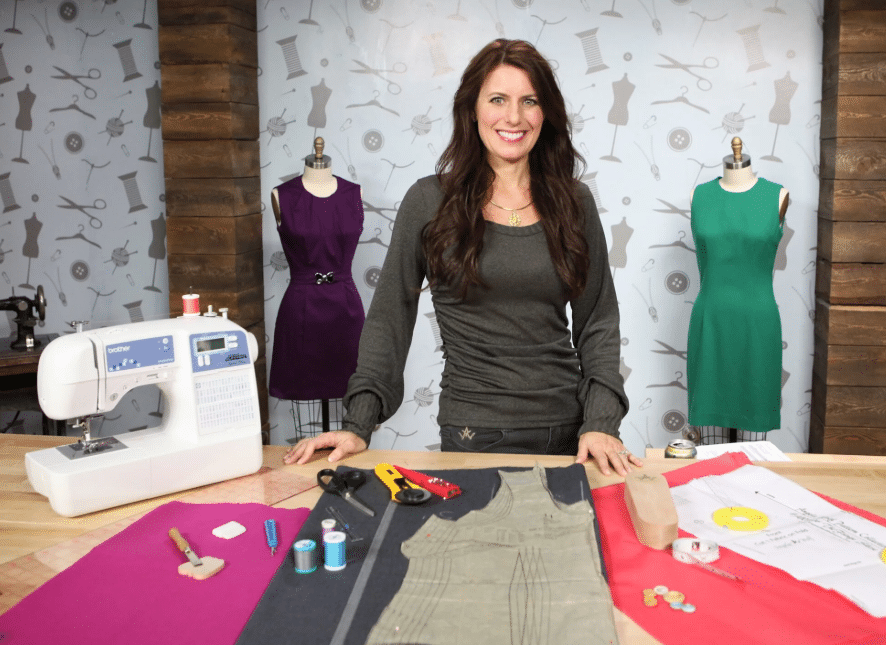
Episode 580: At Your Side Virtually! Join Brother Brand Ambassador Angela Wolf and Kim Montagnese
Have you ever looked at an old umbrella and thought… could I remake this? ☔
In this episode of At Your Side Virtually!, I’m joined by Kim Montagnese, and we’re taking on one of the most unique sewing projects—upcycling an umbrella into a custom design.
This project is not only creative, but it also teaches valuable skills like pattern drafting, sewing specialty materials, and waterproofing techniques.
✂️ What You’ll Learn
In this tutorial, you’ll discover:
✔ How to take apart an existing umbrella
✔ How to create a pattern from the original shape
✔ How to sew a new umbrella cover
✔ Tips for sewing clear vinyl and waterproof fabrics
✔ How to waterproof seams for durability
Whether you’re an adventurous beginner or experienced sewist, this project will stretch your skills in the best way.
🎥 Watch the Full Tutorial

☔ Materials You’ll Need
- Existing umbrella (for pattern reference)
- Waterproof fabric or coated fabric
- Star brite water proofing spray can be found at Wolf’s Marine and Amazon.
- Scotchgard Heavy Duty Water Shield
- Clear vinyl (optional)
- Thread suitable for outdoor use
- Sewing machine (Brother recommended 😉)
- Pins or clips (clips work best for vinyl)
(this post contains affiliate links)
✂️ Basic Steps Overview
1. Take Apart the Umbrella
Carefully remove the existing fabric panels to use as your pattern pieces.
2. Create Your Pattern
Trace each panel and add seam allowance if needed.
3. Cut Your Fabric
Cut your new panels from waterproof fabric or vinyl combinations.
4. Sew Panels Together
Stitch panels together, maintaining consistent seam allowances. Apply seam sealing to ensure durability in the rain.
5. Attach to Frame
Secure the new cover back onto the umbrella frame.
6. Waterproof the Fabric
Spray the fabric with waterproofing solution.

💡 Pro Tips
✨ Use clips instead of pins for vinyl
✨ Test stitches before sewing waterproof fabric
✨ Use longer stitch lengths for thick materials
✨ Reinforce stress points
🧵 Final Thoughts
This project is such a fun reminder that sewing isn’t just about garments—it’s about creativity, problem-solving, and making something truly unique.
If you try this, I’d LOVE to see your version—share it with the Wolfpack 💙

Be sure to sign up for my newsletter to stay up to date on new shows, events, and tutorials!
Cheers,

Fashion Designer, Entrepreneur, and Brother Brand Ambassador
Here is Kim’s photo of teh bathrobes she upcycled for her daughters wedding ♥


")
")


")


")


")
")